Wednesday, May 29, 2013

Honey Oat Quick Bread


I am all about making things QUICK.  I like quick trips to the store, I like quick walks and I like quick computers.  Maybe that's why this recipe for Honey Oat Quick Bread caught my eye. Saving a few extra minutes in the kitchen is always a bonus.  Don't get me wrong, I love long lingering days in the kitchen but now that my kids are out of school for the summer, I would much rather hang out with my family than be alone in the kitchen.  This summer is going to go quick - I'm feeling the need to make the most of every single day.

Honey Oat Quick Bread

http://www.eatingwell.com/recipes/honey_oat_quick_bread.html
From EatingWell:
January/February 2007,
EatingWell for a Healthy Heart Cookbook (2008)

Ingredients

  • 2 tablespoons plus 1 cup old-fashioned rolled oats, or quick-cooking (not instant) oats, divided

  • 1 1/3 cups whole-wheat flour, or white whole-wheat flour (see Tip)

  • 1 cup all-purpose flour

  • 2 1/4 teaspoons baking powder

  • 1/4 teaspoon baking soda

  • 1 1/4 teaspoons salt

  • 8 ounces (scant 1 cup) nonfat or low-fat plain yogurt

  • 1 large egg

  • 1/4 cup canola oil

  • 1/4 cup clover honey, or other mild honey

  • 3/4 cup nonfat or low-fat milk
  1.  Position rack in middle of oven; preheat to 375°F. Generously coat a
    9-by-5-inch (or similar size) loaf pan with cooking spray. Sprinkle 1
    tablespoon oats in the pan. Tip the pan back and forth to coat the sides
    and bottom with oats.


  1. Thoroughly stir together whole-wheat flour, all-purpose flour,
    baking powder, baking soda and salt in a large bowl. 


  1. Using a fork, beat
    the remaining 1 cup oats, yogurt, egg, oil and honey in a medium bowl
    until well blended. 


  1. Stir in milk. 


  1. Gently stir the yogurt mixture into
    the flour mixture just until thoroughly incorporated but not overmixed
    (excess mixing can cause toughening).


  1. Immediately scrape the batter into the pan, spreading evenly to the edges. Sprinkle the remaining 1 tablespoon oats over the top.


Bake the loaf until well browned on top and a toothpick inserted in the center comes out clean, 40 to 50 minutes. (It’s normal for the top to crack.) Let stand in the pan on a wire rack for 15 minutes.


Run a table knife around and under the loaf to loosen it and turn it out onto the rack. Let cool until barely warm, about 45 minutes.


Slice.


Unfortunately, I didn't feel like this quick bread was worth the time savings. It wasn't terrible and to be honest, the kids really enjoyed it but I thought that it lacked the delicate texture of a good quality bread. Even though I'm a big proponent of "quick" I think I will stick to the more time consuming yeast method to make my whole grain breads from now on. Although this bread wasn't terrible, it didn't meet my high standards of great bread.

Ciao!

Tuesday, May 28, 2013

Zucchini Pizza


The kids are out of school for the summer. Yea! Both of my children are officially high school students now!  To celebrate the end of school, we had a pizza party at the pool this weekend.


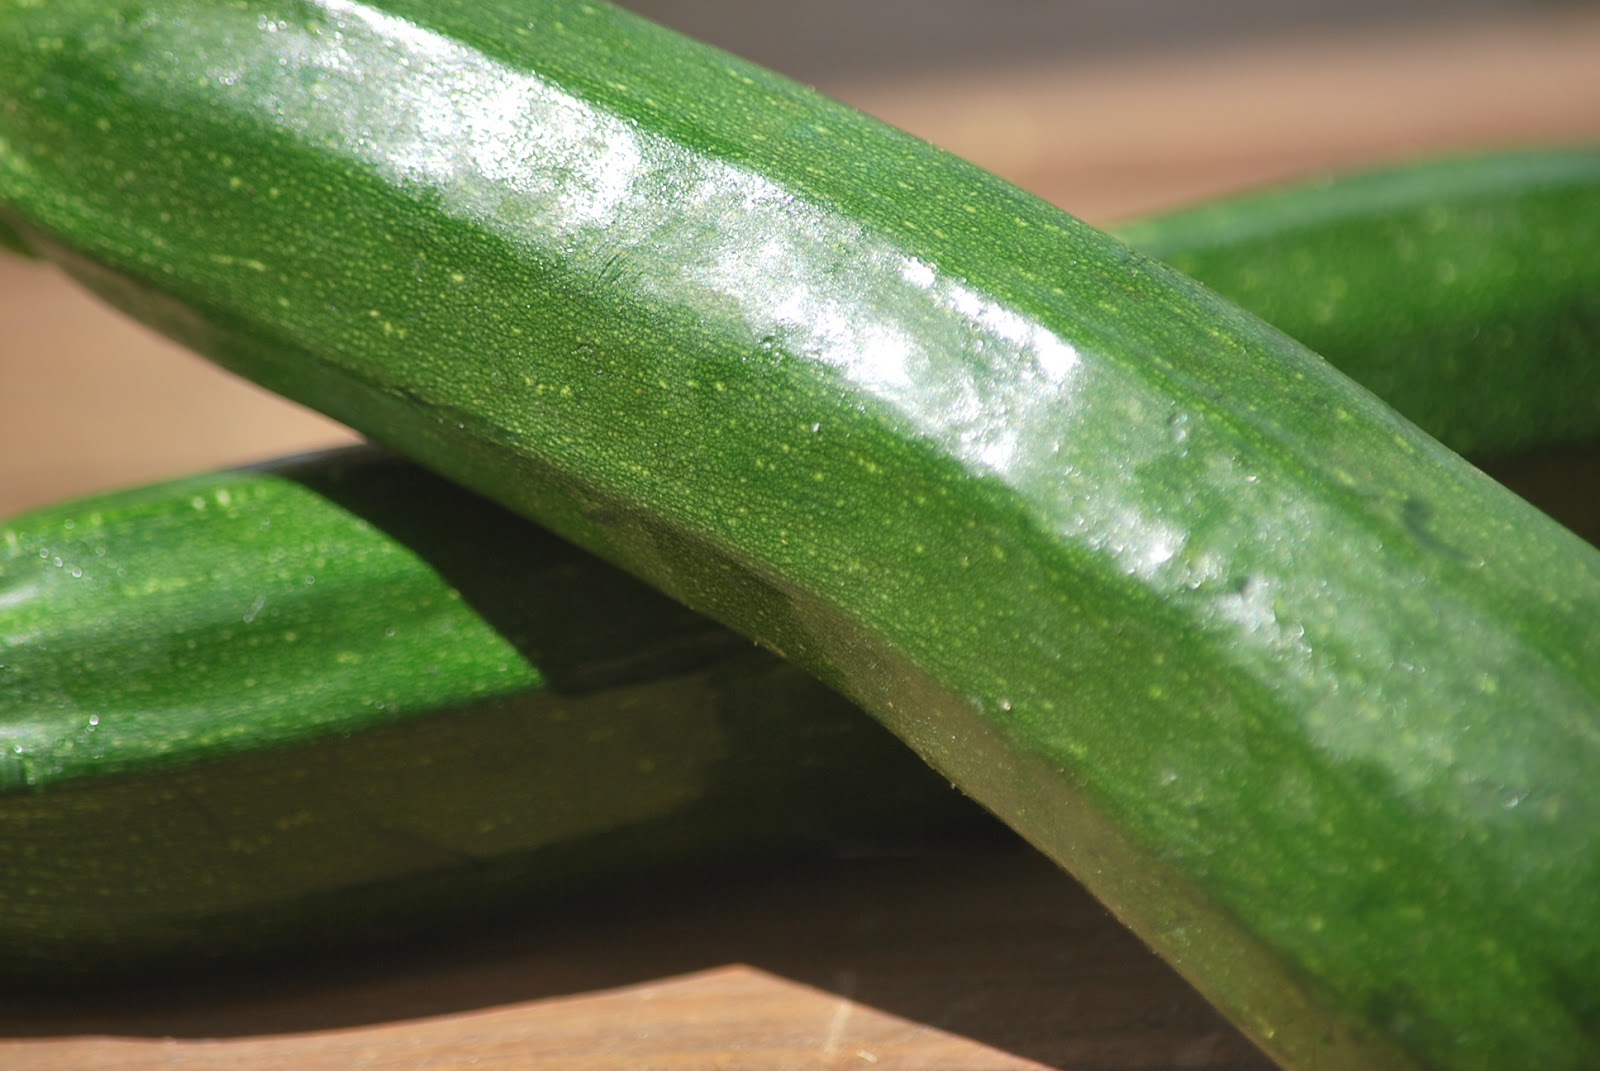
Since I was feeling like eating something a bit lighter than pizza but more substantial than salad, I made some zucchini pizzas for myself.

I love stuffed zucchini but quite honestly, they are a lot of work. There is a lot of chopping and sautéing and baking and broiling that goes into make a really great stuffed zucchini. This zucchini pizza is super easy to make and they are really quite tasty.  It's a great alternative for me when I don't want to indulge in a cheesy pizza.


Zucchini Pizza


Slice zucchini in half.  Trim a small portion off of the bottom so that it can sit evenly on the baking sheet. 


Brush the tops of the zucchini with olive oil.  Sprinkle with salt and garlic powder.


Top with sliced cherry tomatoes.


 Sprinkle with mozzarella and Parmesan cheeses.


Bake 20-30 minutes at 375.


Top with fresh basil and enjoy.


This is a great recipe to have in your collection when your garden starts producing zucchini in abundance this summer.  Enjoy.

Ciao!

Monday, May 27, 2013

Strawberry Cake Roll


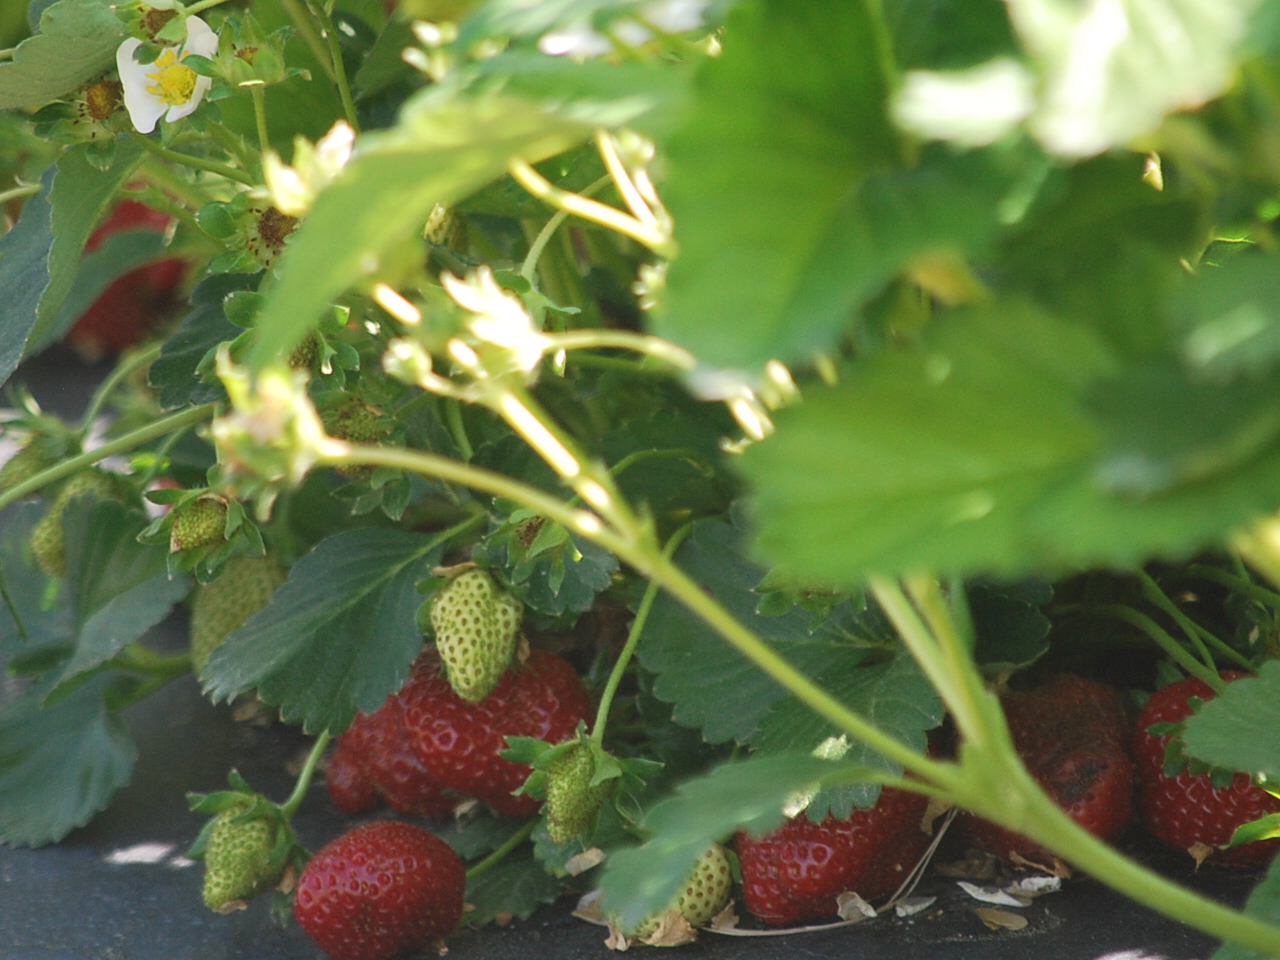
Almost immediately after I received the email that the strawberry fields were open for business, I gathered up my daughter and buckets and headed out the door.  The plants were so covered in juicy, red berries that it only took about 15 minutes for us to pick 2 big buckets of strawberries. 


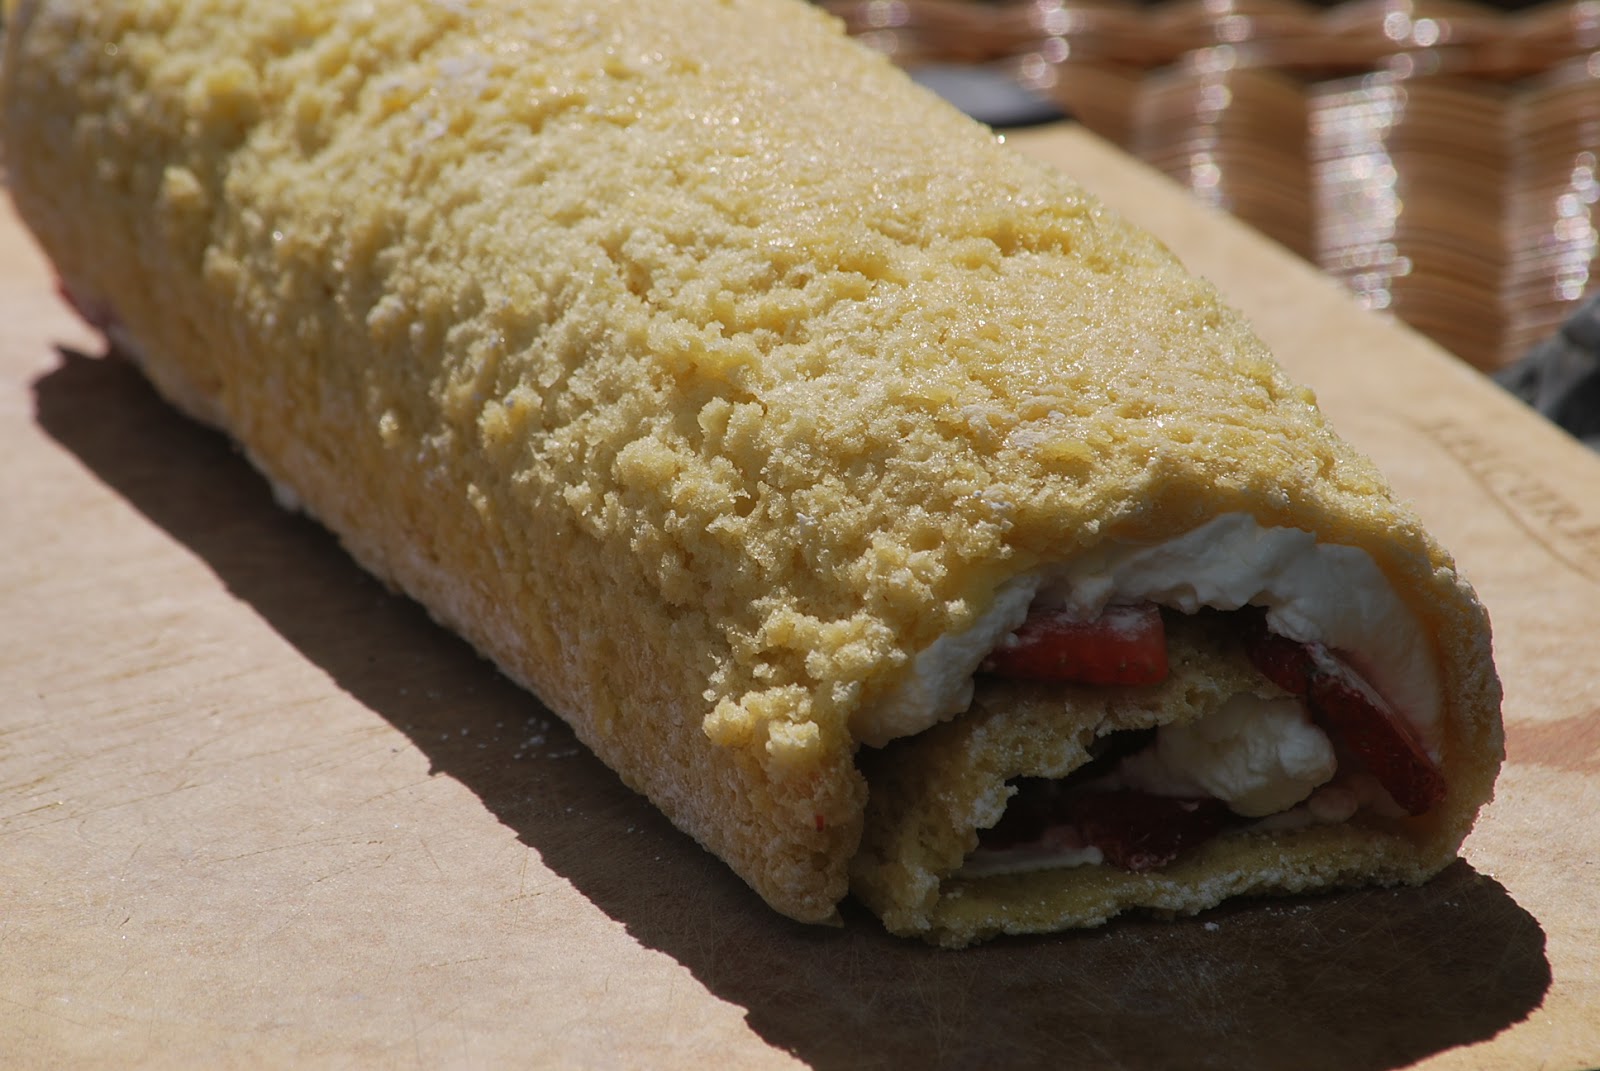
We ate a lot of the berries plain but we saved a few for some delicious strawberry treats.  I used a recipe from a Taste of Home magazine for my inspiration for this strawberry cake roll.  It's a simple combination of sponge cake, whipped cream and fresh strawberries.


Strawberry Cake Roll
3 eggs
1 cup sugar
1/3 cup water
1 teaspoon vanilla
3/4 cup flour
1 teaspoon baking powder
1/4 teaspoon salt

Filling
Fresh whipped cream
Fresh sliced strawberries

Line a 10x15" baking pan with waxed paper.  Grease paper.  Preheat oven to 375.
Beat eggs for 3 minutes.


Gradually add sugar and beat until thick and lemon-colored.


Beat in water and vanilla.  Combine flour, baking powder and salt.  Fold into egg mixture.


Spread into greased pan.  Bake 12-15 minutes.


Invert cake onto a towel that has been sprinkled with a generous amount of powdered sugar.  Roll cake up in towel and let cool completely.


While cake cools, whip up a batch of fresh whipped cream.  (You can substitute cool whip topping.)


Carefully unroll cooled cake and spread whipped cream evenly over cake.


Add a layer of thinly sliced strawberries to the cake.


Reroll cake.


I like to put my cake roll in the freezer for a few minutes before slicing.  


Ciao!