Friday, February 3, 2012

Ruffles


Those of you who have follow my blog regularly already know that I don't like to make large quantities of food.  I would much rather take my time making a smaller portion - extra something special.  Due to the nature of my job as a chef, sometimes I just can't escape mass food production.  This weekend I am coordinating 3 meals and 2 snacks for 40 men.  (120 meals and 80 snacks over 2 days.)   My approach to feeding men is quite different than the strategies that I use to feed women.   A chicken salad croissant with fresh fruit just isn't going to cut it for these guys.  I decided instead to make some big trays of lasagna to fill the bellies of these hungry men.  I like to make lasagna because I can make it a day or two in advance.  I have my own take on lasagna that I call lasagna ruffles.  It's essentially the same ingredients as traditional lasagna but the presentation is much more elegant.
 

Spinach Stuffed Lasagna Ruffles
16 ounces lasagna noodles        2 cups mozzarella
8 ounces cream cheese               1 ½ teaspoons Italian Season.
10 ounces spinach, drained        ¼ teaspoon salt
1 ½ cups Parmesan cheese        32 ounces spaghetti sauce
15 ounces ricotta cheese

Cook noodles according to package directions and drain.  I like to lay mine out on a cookie sheet to cool.  (Since I was feeding 40 - I quadrupled the recipe.)


Beat cream cheese until smooth.  Stir in spinach, 2/3 cup Parmesan, ricotta, mozzarella, Italian seasoning and salt. 


  Pour sauce in bottom on pan.


This is how I set up my counter to make over 100 lasagna ruffles.

 
Spread ¼ cup filling over each cooked noodle.


Roll up.


Cut each lasagna roll in half.


Place them cut side down in sauce.


Top with remaining cheese.


When I arrive at the venue this weekend, all I have to do is pop these pans of lasagna into the oven for 30 minutes at 350.  While the ruffles cook, I'll set out some fresh bread, a green salad and 5 dozen black bottom cupcakes.  Sounds like a good dinner to me.

Ciao!

Thursday, February 2, 2012

Worth it

I hear people use phrases like "don't bother", "it's not worth it" and "that's too much trouble" all time and it makes me wonder whether people think that anything is worth the "trouble" anymore.  Maybe it's just me but I feel like I'm being pulled in so many different directions lately that I find myself constantly making decisions about which things in my life are important enough to devote myself to and which things are not.  There are some things that I just can't "bother" with right now and other things are quite simply - worth the trouble.  One of the things that has required a lot of my time and energy lately is my son's wrestling team.  This group of boys and coaches are definitely worth devoting some of my time to.   In a nutshell - they're "worth it." 


There are some meals that are also worth a little extra trouble.  Cooking a Boston Butt on the Big Green Egg for 9 hours is not for the faint of heart but if you have the perseverance to see it through, the results are definitely worth the time that you put into it.  This is not a quick and easy meal that's thrown together in 30 minutes.  Smoking a pork shoulder requires a tremendous amount of patience and stamina.  It took me several tries to get my Boston Butt to cook properly on the Big Green Egg so don't get discouraged if yours doesn't turn out exactly the way you intended on the first try.  I actually had to throw away my first Boston Butt because I wasn't able to regulate the temperature of the Egg.  After my first failed attempt and about a half dozen other tries at this recipe, I'vee finally have it almost perfected.

Boston Butt
Dry Rub                                                        Injection Marinade
4 teaspoons seasoned salt                        1/3 cup apple juice
2 teaspoons brown sugar                         1/3 cup white grape juice
1 ½ teaspoons sugar                                    ¼ cup sugar
1 ½ teaspoons paprika                                1 ½ Tablespoons salt
¼ teaspoon garlic powder
¼ teaspoon pepper
1/8 teaspoon dry mustard                        6-8 pound pork shoulder (Boston Butt)
1/8 teaspoon cumin
1/16 teaspoon ginger


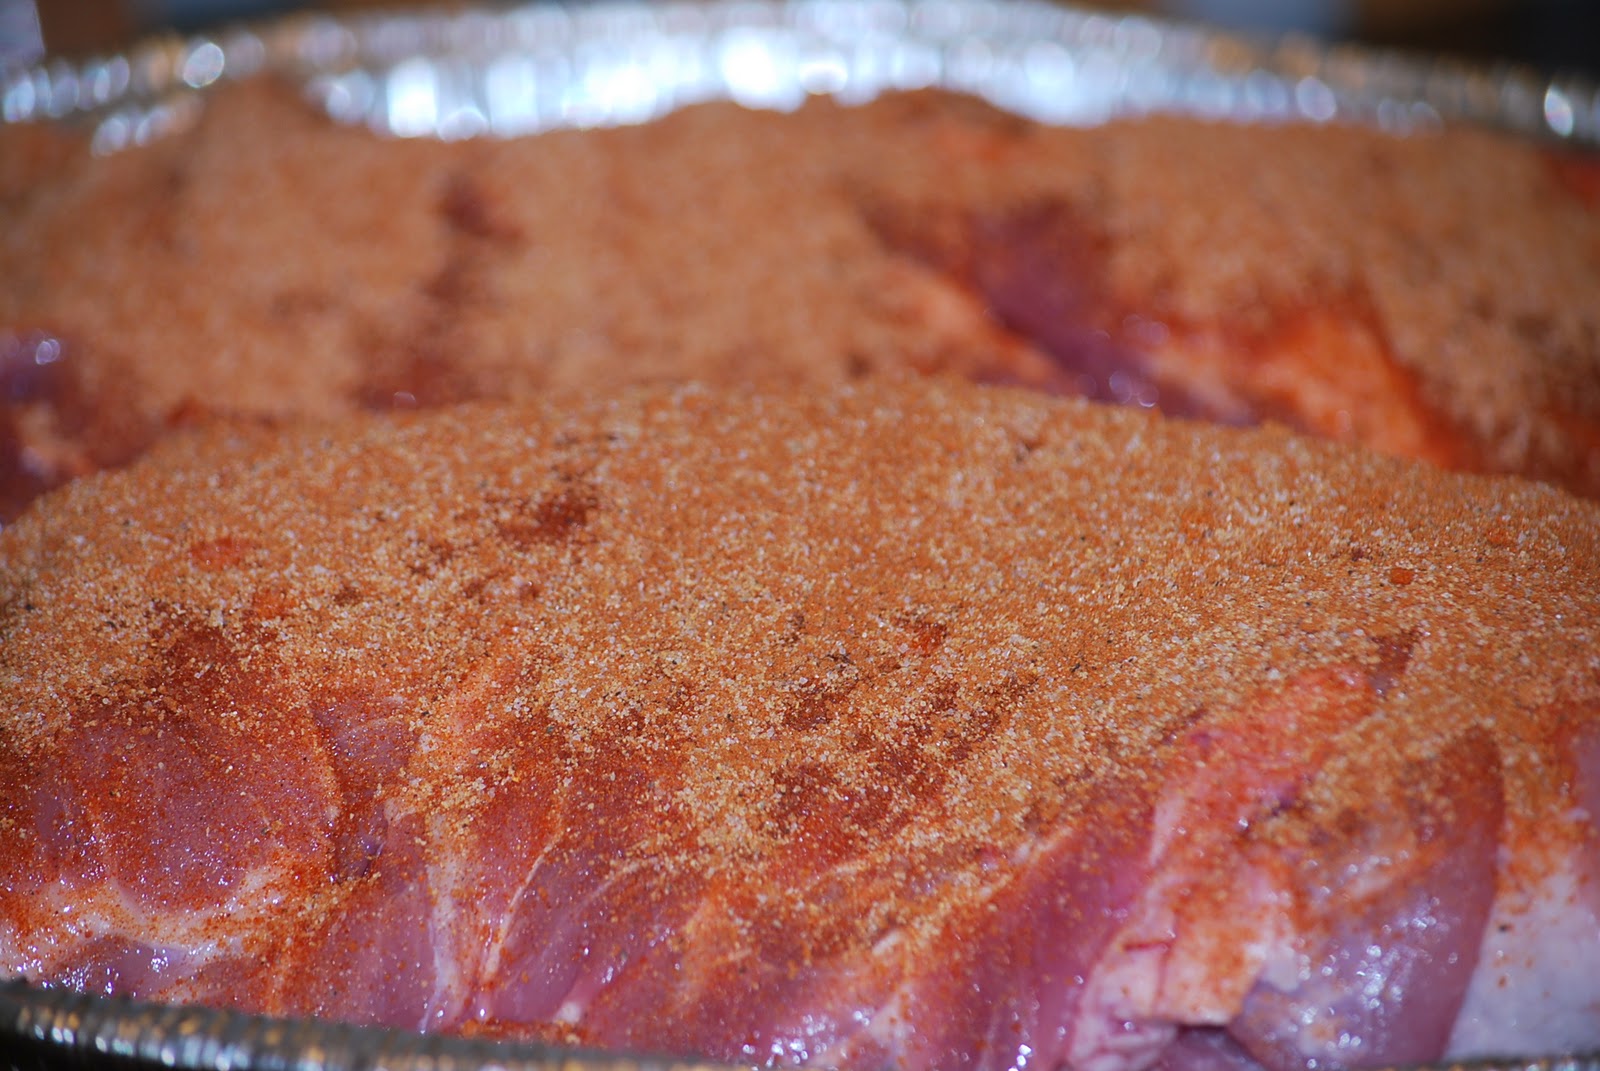
Coat roast with dry rub.


Inject roast at 1” intervals with marinade.


Put the pork in a disposable aluminum pan and put it on top of the Big Green Egg grate.  Set the temperature to 250 and cook for about 9 hours.  I photographed my pork every couple of hours so you could see how it looked as it cooked.

This is what it looked like before I put it on the Egg to start cooking.


This is what it looked like after 2 hours.


This is what it looked like after 4 hours.


This is what it looked like after 6 hours.  (By the way - it smelled fantastic when I opened the lid to take this picture.)
 

This is what it looked like after 8 hours.


This is what it looked like when I pulled it off the Egg after 9 hours.


I wrapped the hot pork in foil to allow the juices to redistribute.  I let the pork cool and then I put the wrapped pork in the refrigerator overnight.  (It's not necessary to refrigerate them but I didn't need them until the following day.)


 Once the pork is cool, I either pull it apart with my hands or with 2 forks.


This makes really good pulled pork sandwiches.  My family likes to drizzle a little barbeque sauce over their pork and eat it on a whole wheat bun as a sandwich.  We ate some of the pulled pork for dinner but the majority of it went to school to feed the wrestling coaches this week.  They are more than deserving of this meal.
 

Cooking a Boston Butt requires a lot of patience but it's totally "worth the effort."

Ciao!

Wednesday, February 1, 2012

Happy February


The week of Valentine's Day is always a busy week for me as a chef.  I wanted to get a head start on a special Valentine's treat for my family this week since the next couple of weeks are going to be pretty hectic.  I had to make a chocolate chip cheesecake to serve at a party this week anyway so I decided to make some mini cheesecakes for my family at the same time.  I can store the mini cheesecakes in my freezer until Valentine's Day.

After searching through all sorts of gourmet kitchen stores, I ended up ordering my mini springform pans from an internet website.  The very next week I found them in the cooking isle at Walmart.  :)  If you're interested in making mini cheesecakes - check your local Walmart store for mini springform pans.   

Chocolate Chip Cheesecake
1 cup oreo cookie crumbs                    2 cups sour cream
2 Tablespoons butter, melted             3 eggs
16 ounces cream cheese                        1 Tablespoon vanilla
1 cup sugar                                                1 ½ cups chocolate chips

Combine oreo cookie crumbs and melted butter.

 
Press into bottom of springform pan.


 Beat cream cheese until smooth.  Add sugar and sour cream.


Add eggs and vanilla.


Stir in 1 cup chocolate chips.  Pour into crust and sprinkle with remaining chips.


Bake 30-40 minutes at 350.  Turn oven off and leave cheesecake in for 1 hour to set.  Remove from oven and chill in refrigerator for 3-4 hours.


Once the cheesecakes have cooled completely, I remove them from the pans and chill them in the refrigerator.


I like to top my cheesecakes with a sweet and creamy topping.   I combine 1 cup of sour cream and 1/4 cup of sugar to make the topping.


Spread the topping on the cheesecake and serve with chocolate chips...


or fresh fruit.


I think my family is going to like this dessert.  I know I am.

Ciao!