
If you've ever been to a Jimmy Johns, you know that the secret to their success is their unbelievably delicious bread. The bread is baked fresh every day and it's soft and chewy and heavenly. I don't know how they do it but it's even delicious the second day. (Something I've never been able to replicate at home.) Apparently they are aware of this fact because they sell the day old loaves for 50 cents and they just fly out the door. (It's that good.)

I stumbled across a youtube video on how to make Jimmy Johns Bread at home a few weeks ago. After watching this seemingly educated baker create the recipe that he believed to be very close the Jimmy Johns recipe, I decided it was worth a shot. I had never before tried a recipe that I had gotten from a youtube video but I figured it was worth a shot. The man in the video appeared to be very knowledgeable about bread baking while he rattled off facts about proofing temperatures and leavening ingredients. It was worth a shot.

2 1/2 teaspoons yeast
1 cup warm water
1 Tablespoon sugar
1 Tablespoon powdered milk
4 teaspoons soybean oil
1/2 teaspoon baking soda
1 teaspoon salt
3 cups flour

Sprinkle sugar and yeast over warm water. Let sit for 5 minutes.
Combine remaining ingredients and add to yeast mixture.


Knead dough until combined. Let rest 5 minutes.

Knead dough 2 minutes and let rest 7 minutes.

Knead out 3 minutes.
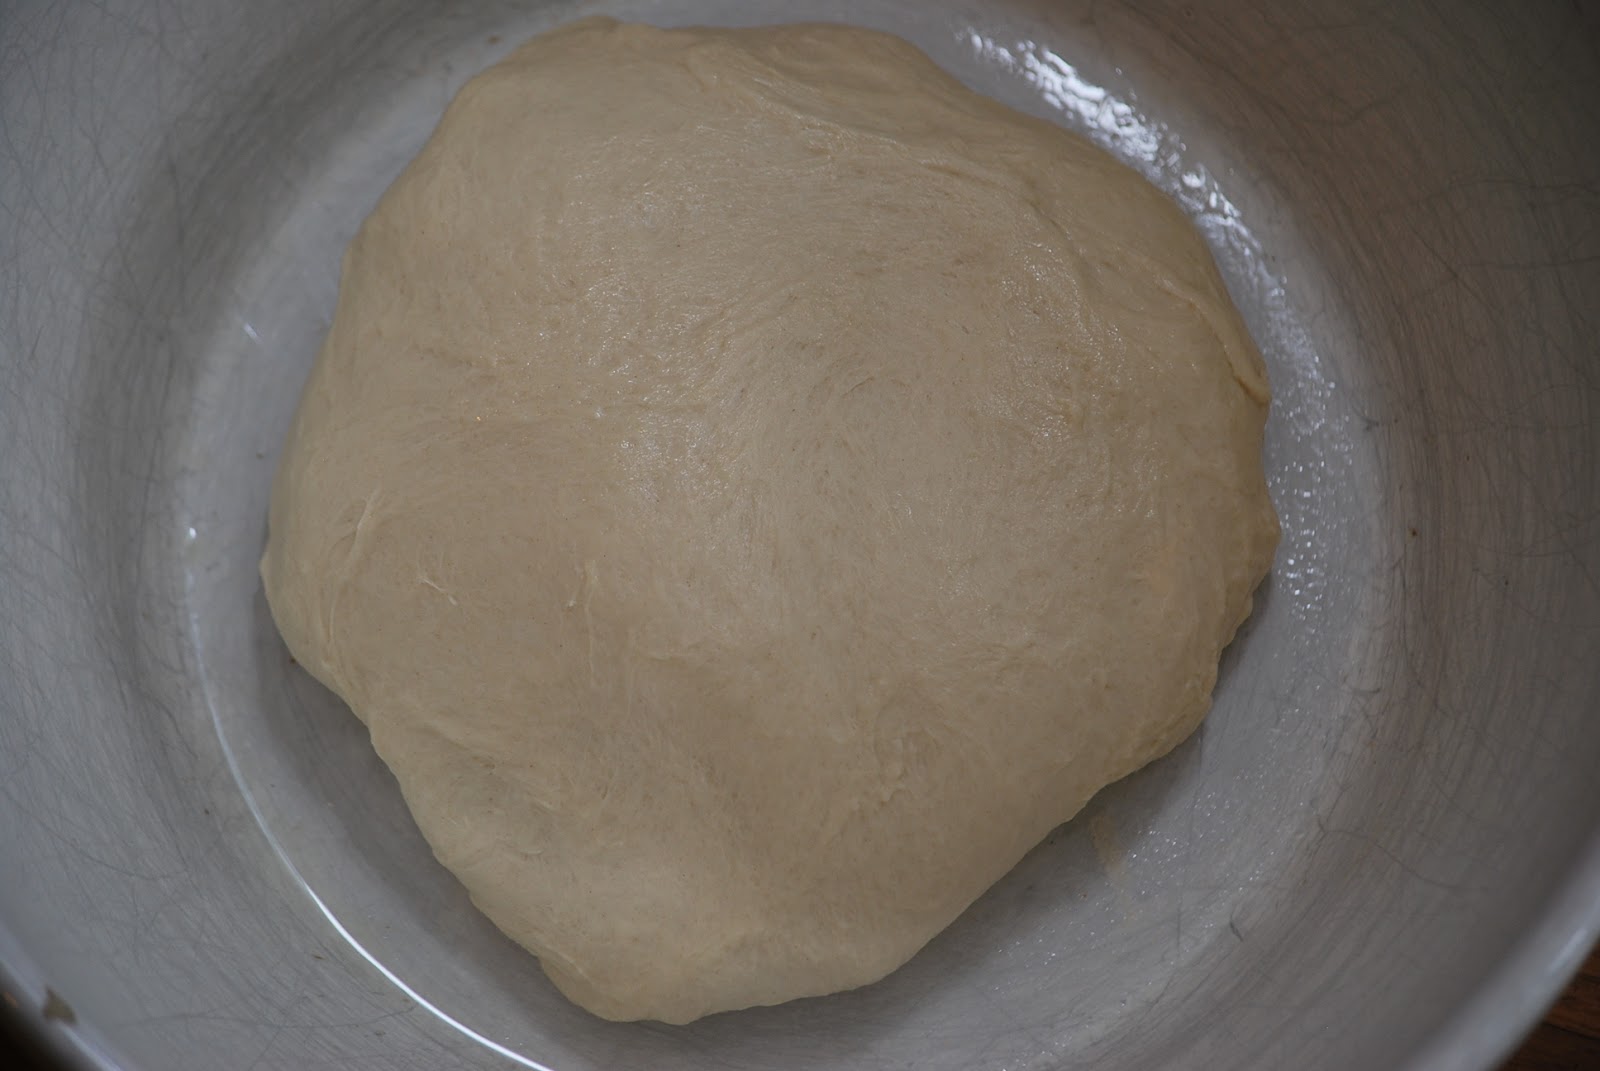
Put dough into a greased bowl and let rise for an hour. I proofed my dough in the oven. The video recommended a 130 degree proofing temperature.

This is my dough after an hour - slightly overproofed I think.
Divide dough into 3 equal parts.


Roll each into a log and place on a silpat lined baking sheet.
Cover with plastic wrap and let rise for another 30 minutes. (Ideally in a 130 degree environment.)


Bake 18 minutes at 390. (Yes, I do agree that 390 is an odd temperature.)


Cool on wire racks.


Slice each loaf in half or thirds, depending on the size sandwich you want.
Slice each section in half horizontally.


In my modest opinion - this bread fell way short of the Jimmy Johns standard. The crust wasn't quite right and it didn't really have the same crumb as Jimmy Johns bread. Don't get me wrong, the bread wasn't terrible but it just wasn't the delicious bagel-like bread that I was expecting. Perhaps I will try another recipe for Jimmy Johns bread another day.
It wasn't a total waste though. I did made basil chicken sandwiches on my knock off bread and they were pretty good. (That recipe will be on tomorrow's blog.)
Ciao!
Hey just wanted to say as someone who has both seen the video AND worked at a jimmy johns, you're supposed to proof at 113 degrees, not 130. The proofing racks at the store are also filled with water (for steam) and bread is proofed uncovered. He also did not stretch the bread immediately before putting it in the oven. It's not perfect but it does make decent bread!
ReplyDeleteThanks for the tips. It may be worth revisiting this recipe with your suggestions.
ReplyDeleteI believe Jimmy Johns bread is fat free, so their recipe probably doesn't use soybean oil. I'd love to have the recipe though, nothing better than a loaf of their bread and some French olive oil!
ReplyDeleteThanks for the tip. I'm going to try this recipe again this week.
DeleteDoes it have azodicarbon in it like subway
ReplyDeleteThat is a really good question and I have looked for a definite answer and I cannot seem to come up with one. As far as I know, the bread has no azodicarbon in it.
DeleteThat's in a lot of foods. It's used in the bleaching process of flour. SO if you used bleached flour, you have Azodicarbonamide. Therefore, it only has it if you add it :)
DeleteAlso, it's important to point out that in EU and AU it's banned because it can cause issues such as asthma and cancer, but that is due to inhalation, not ingestion!
Typically you'll want to use an unbleached flour for breads anyway, as they have a higher gluten content giving a stronger structure for the rising. Unbleached flour does tend to clump more, so you might want to sift it into the mixer.
try it with 4 tables spoons of oil, not 4 tea spoons ;) Hope that helps
ReplyDeleteThanks for the tip - trying this recipe again the weekend.
DeleteYou killed the yeast at 130*. I just let my bread set out on the counter until it doubles in size. There is a video on You Tube : A Versitile Dough, it has both all purpose and bread flour in it. I used 2 packages of yeast like he said while filmming it, instead of the 2 T written in the description. It made the best sub rolls, it is my new go to recipe for sub rolls. Look it up. It is great.
ReplyDeletehttp://www.youtube.com/watch?v=R00rQwwBFX4 or http://www.youtube.com/watch?v=ROOrQwwBFX4 I think it is the first one??
ReplyDeleteA Versitile Dough is the name of the video. :) :)
Awesome - Thank you. Going to try this recipe this weekend.
Delete[url]http://www.youtube.com/watch?v=R00rQwwBFX4[/url] hope this makes it clickable. This is the site on You Tube titled A Versitile Dough
ReplyDeleteI always wrap a heating pad around my bowl when proofing and it works great
ReplyDeleteBut was it worth a shot? :)
ReplyDeleteSoooo worth it. ��
ReplyDelete